A Guide to Creating a Tie-Dye Nail Art Manicure
A tie dye manicure is a fun and vibrant way to add some flair to your nail art. Here's a step-by-step guide on how to create this unique design.
Preparation
- Begin by preparing your nails. Clean, file, and buff them to create a smooth base. Apply a base coat and cure it if you're using gel polish.
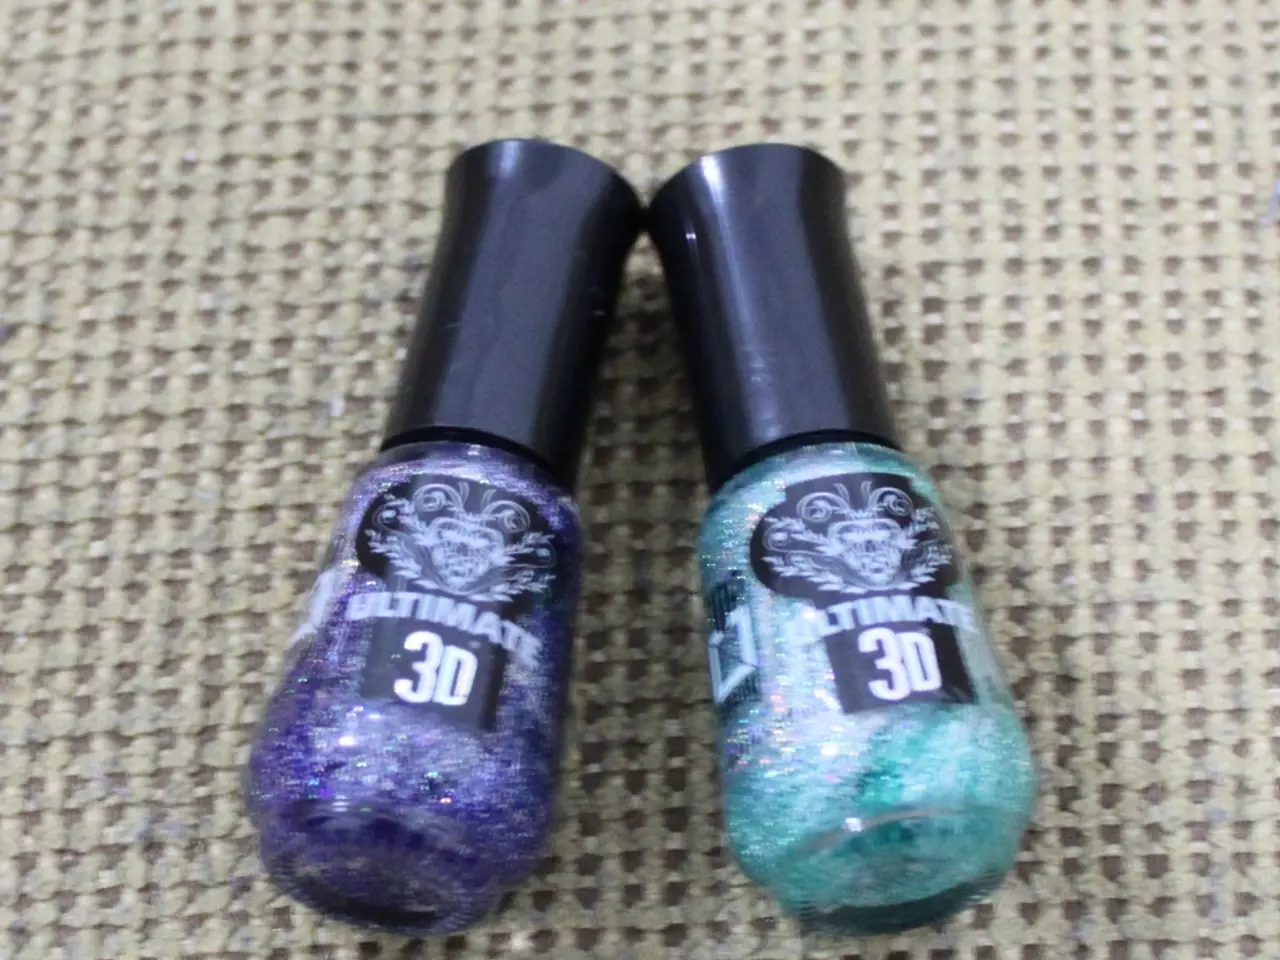
- Choose your colours. Opt for 3-5 bright or pastel shades that blend well for the tie dye effect.
- Apply a white or light base colour. This helps the tie dye colours pop. Cure if working with gel polish.
Creating the Tie Dye Effect
- Using a thin nail art brush or small sponge, apply small patches or streaks of your chosen colours randomly on each nail. Work while the polish is wet (do not cure yet).
- Gently swirl or blend the colours together slightly, mimicking the random, swirling look of tie dye. Be sure to clean your brush between colours to avoid muddying the polish.
- If you prefer a more seamless look, carefully blend the edges of the colours. However, avoid overmixing to keep distinct colour patches visible.
- Once you are happy with the tie dye pattern, cure the nails (if using gel polish).
- Seal in the design with a glossy top coat and cure again if gel, or let dry if regular polish.
- Use a small brush dipped in polish remover to tidy up around the nails for a clean finish.
Additional Tips and Techniques
- Each fingernail should be dipped, palm up, into the center of a new bulls eye pattern of nail polish drops in a plastic cup.
- Quickly performing each step is important to avoid letting the nail polish dry.
- Tape can be used to make clean up easier. Alternatively, taking a hot shower and peeling the paint off around each nail can also be used for cleaning up.
- A toothpick can be used to swirl the nail polish in the water and remove it.
- Thicker nail polishes tend to work better for this technique.
- Five to ten nail polish colours, with quality being important, are needed for a tie dye manicure.
- In step 2, you can use tape to protect the skin around your nails for a cleaner application.
This method is shown in various tutorials for gel and regular polish tie dye manicures on YouTube and TikTok, emphasizing working with wet polish to blend colours and curing after completing the design.
[1]: YouTube Tutorial Link [2]: TikTok Tutorial Link [3]: Another YouTube Tutorial Link [4]: Yet Another TikTok Tutorial Link [5]: Even More Tie Dye Manicure Tutorial Link
Engage in a creative home-and-garden project by embellishing your living space with a collection of tie dye art pieces. Use the tutorials found on YouTube and TikTok to create vibrant tie dye paintings, showcasing your unique style and adding a burst of color to your lifestyle.


