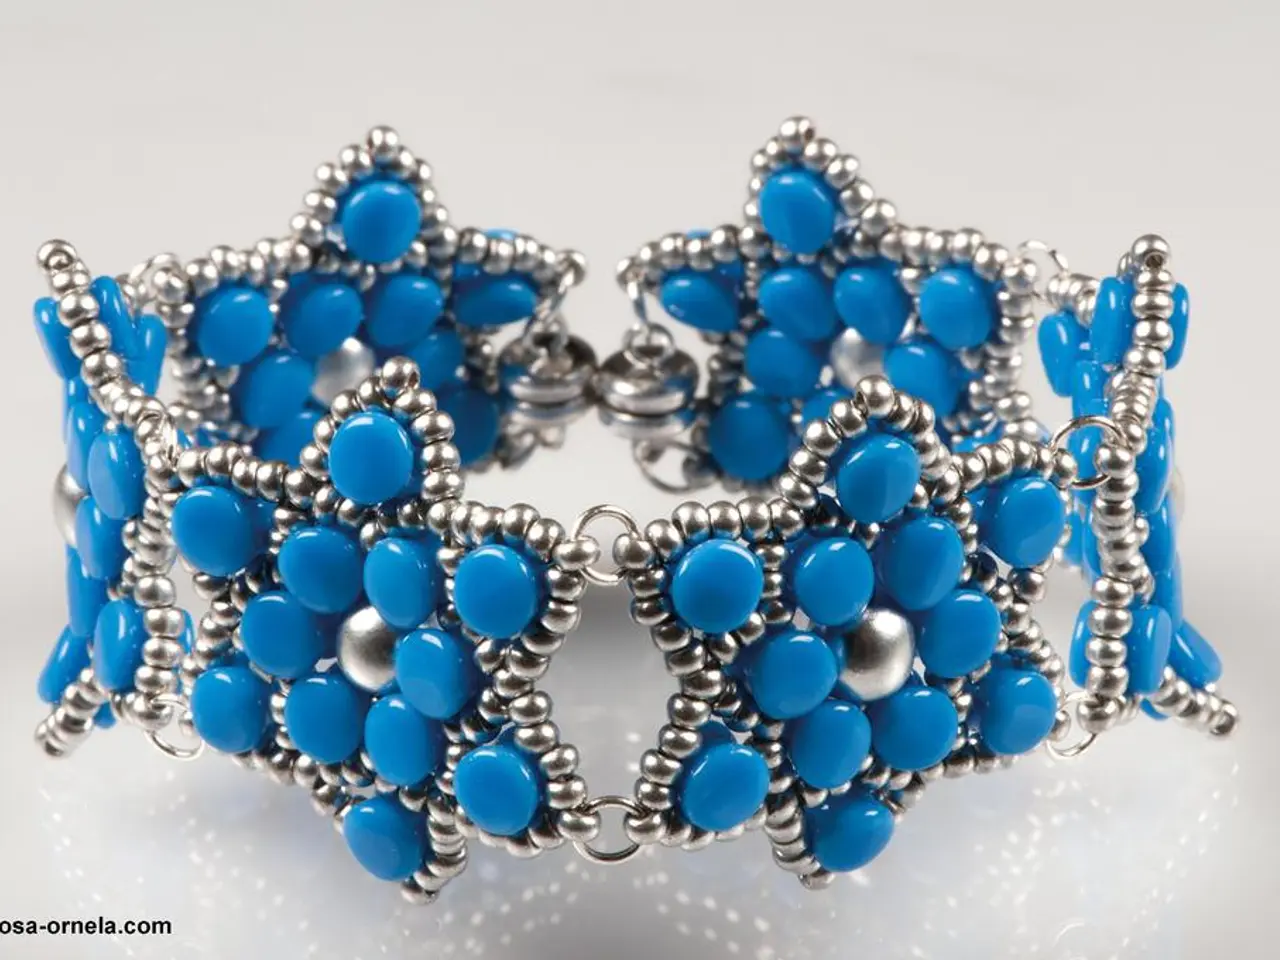
Crafting Perler Bead Bracelets: A Step-by-Step Guide
Creating a one-of-a-kind Perler bead bracelet is a fun and rewarding project that allows you to showcase your creativity while adding a personal touch to your accessory collection. Here's a comprehensive guide to help you craft your very own Perler bead bracelet.
Materials and Equipment
To get started, you'll need the following materials and tools:
- Perler beads (plastic fusible beads, choose colours and shapes for your design)
- String, elastic cord, or waxed cord (to thread the beads)
- Scissors
- Beading needle (optional, if using thin cord for easier threading)
- Ironing paper or parchment paper (if you want to fuse the beads into shapes before adding to bracelet)
- Iron (optional, for fusing beads if creating solid shapes)
- Kandi cuff base or bracelet clasp (optional, for attaching Perler beads uniquely, as in cuff-making)
Step-by-Step Instructions
- Design Your Pattern
- Plan a unique pattern or image with your Perler beads. You can arrange them on a pegboard if you want to fuse them into shapes before adding to a bracelet or just pick beads according to your preferred colour sequence.
- Prepare the Cord
- Cut your string or elastic cord to the desired length plus a bit extra to tie knots.
- If using a waxed cord, lightly melting or stiffening the ends (using a lighter carefully) can help with threading beads easily.
- String the Beads
- If beads are separate, thread them one by one onto your cord according to your designed pattern.
- Use a beading needle if the cord is thin or difficult to thread.
- For a unique style, you can add Perler beads directly onto a Kandi cuff base or combine with other bead types.
- Secure the Ends
- Tie a knot at the ends to secure the beads in place.
- For elastic cords, use a strong double or surgical knot.
- If using a bracelet base, follow specialized instructions to attach beads securely.
- Optional: Fuse Beads into Shapes
- If you want solid, shaped Perler bead components on your bracelet (like charms or tiles), arrange beads on a pegboard.
- Cover with ironing paper and gently iron until beads fuse together.
- Let cool and then string these fused shapes onto your bracelet cord.
- Final Adjustments
- Trim any excess cord.
- Ensure knots are tight and ends are secured or melted.
- Attach a clasp or cuff closure if desired for easy wearing.
Tips for a Unique Bracelet
- Mix Perler beads with other bead types like silicone or pony beads for texture and contrast.
- Incorporate charms or metal accents for personalization.
- Use glow-in-the-dark or pastel Perler beads for special effects.
- Look up video tutorials (e.g., on TikTok) for visual guidance on advanced techniques incorporating Perler beads in bracelets.
Enjoy creating a vibrant home-and-garden themed Perler bead bracelet, or a stylish home décor piece. To create this, consider incorporating garden-inspired colors and shapes such as flowers, leaves, or beehives to emphasize the garden essence in your design.
For a more elevated and lifestyle-oriented accessory, blend Perler beads with home-and-garden-themed silicone or pony beads to achieve an interesting texture and color contrast, while incorporating charms or metal accents that represent native flowers or symbols related to gardening. This would make your Perler bead craft visually appealing and showcase your creative attention to detail.


