Explore the Artistic Depths: Necessities for Your Ceramics Workshop
**Transforming a Space into a Thriving Ceramics Studio**
For those with a passion for ceramics, setting up a studio can be an exciting venture. Choosing the right location, organizing the workspace, gathering essential tools, implementing safety measures, mastering beginner techniques, and planning marketing strategies are all crucial steps in establishing an efficient and creative ceramics practice.
**Location and Workspace Organization**
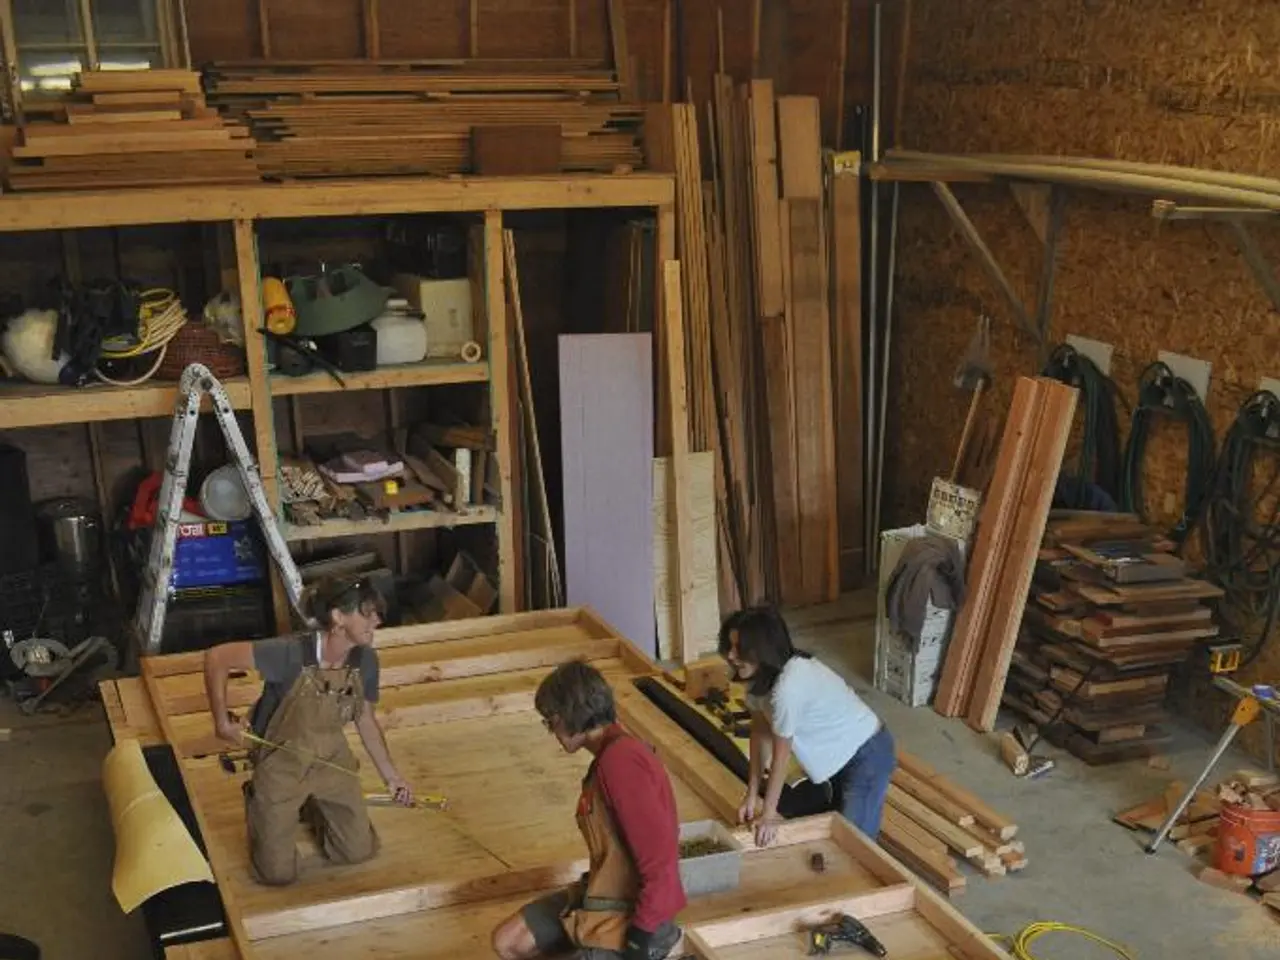
Finding the perfect location for your ceramics studio is essential. A well-ventilated area with good natural or supplemented lighting, such as a basement or garage, can be transformed into an inspiring studio space with added light panels and air purifiers to maintain air quality. Plan your studio layout for workflow efficiency, designating separate zones for clay preparation, wheel throwing, glazing, drying, and firing. Invest in sturdy workbenches tailored to your needs for hand-building and glazing tasks.
**Essential Tools and Equipment**
Key tools for any ceramics studio include a pottery wheel (mini or full-sized depending on space), workbench, shelves for storing raw materials and finished pieces, various shaping and carving tools, sponges, rib tools, trimming tools, rolling pins, and texture materials. Select an appropriate kiln based on your space, budget, and firing needs; options range from microwave kilns to large electric kilns catering to Cone 10 firing requirements. Glazing supplies and a well-organized area for surface decoration are crucial for finishing your ceramics professionally.
**Safety Measures**
Ensuring good ventilation is vital to reduce dust and fumes, especially when working with glazes and firing kilns. Use protective gear such as gloves, masks, and aprons when handling chemicals or firing. Keep the studio clean and clutter-free to prevent accidents; organize tools and materials properly.
**Techniques for Beginners**
Start with basic hand-building methods like pinch pots, coil building, and slab construction before advancing to wheel throwing. Experiment with surface decoration techniques including wax resist, underglaze, glaze layering, and carving to personalize your work. Use tutorials or join beginner workshops to get hands-on experience and expert guidance.
**Marketing Strategies**
Develop an online presence through social media platforms showcasing your studio process and finished pieces. Participate in local art fairs, markets, and makerspace events to gain exposure and sell your work. Offer classes or workshops in your studio to build community interest and diversify income.
By thoughtfully organizing your ceramics studio with attention to space, tools, safety, and skill development, alongside active marketing, you can create an efficient, creative, and sustainable ceramics practice.
In the quest to establish a thriving ceramics studio, handmade ceramic crafts can be showcased as home and garden lifestyle additions. A well-organized studio space, equipped with essential tools like pottery wheels and glazing supplies, ensures efficient ceramic creation.


